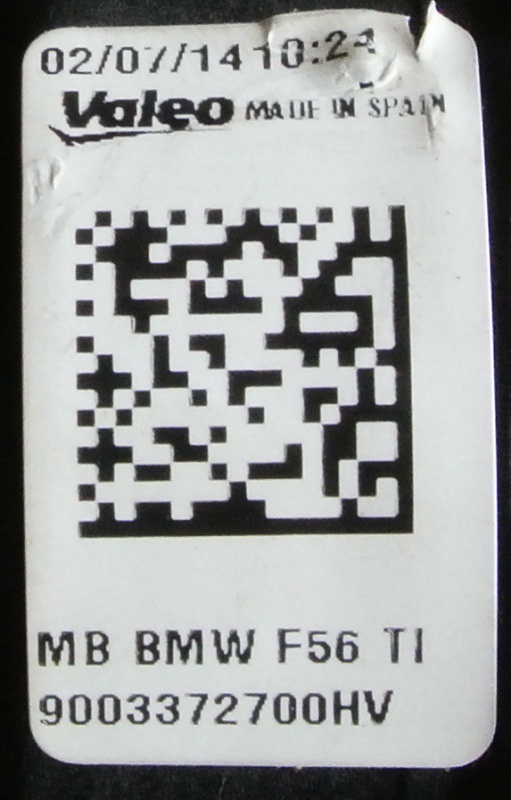
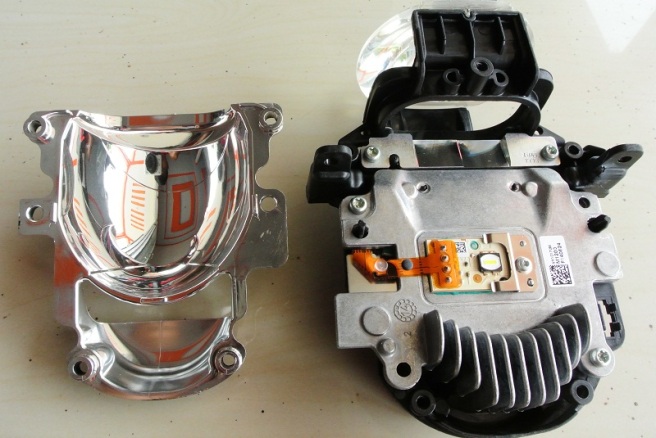
Dang, this one even bigger 18*14*11cm. Made by Valeo.
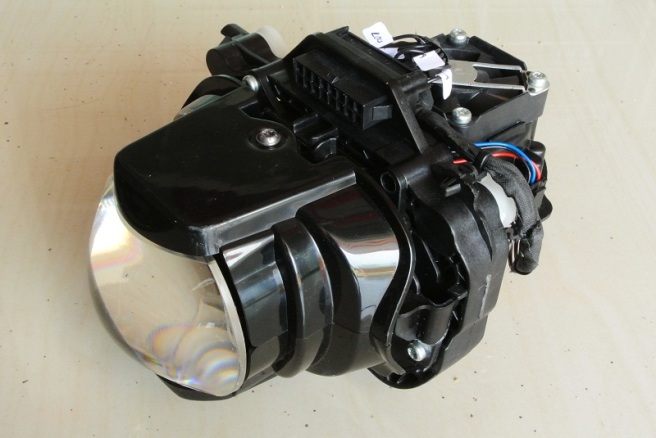
This LED projector is dual beam, using force convection aka fan to removing heat from its emitter/heatsink.
Build quality, especially plastic for mounting bracket have a “cheap” feels unlike BMW 2 series.
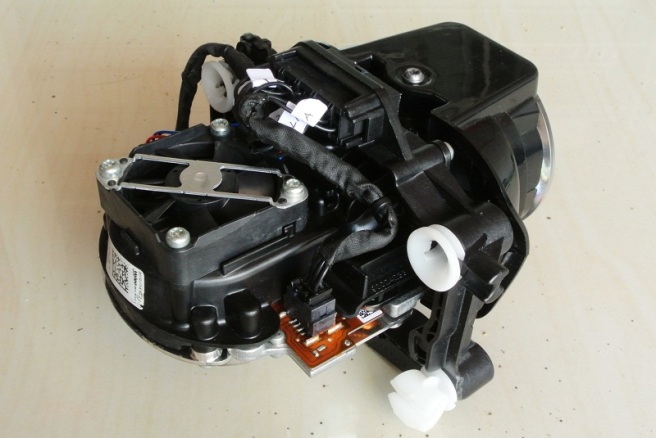
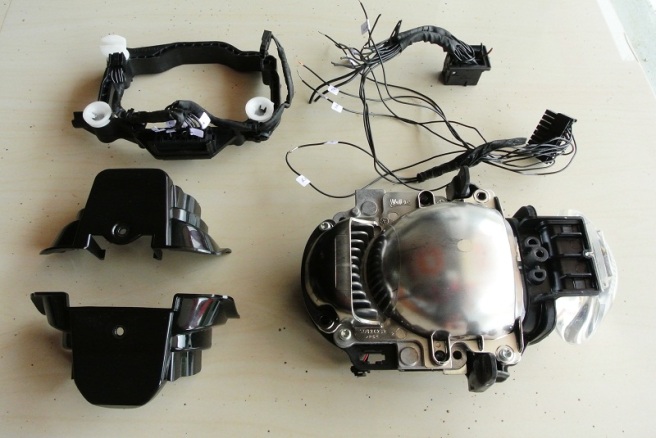
Starting to remove each parts. Same as BMW, use stupid “technology” with ALL BLACK color for cable, WHY ?!
Those big bowl is serve for High Beam.
You can see emitter after removing the bowl. Using flex cable as connection from main connector to emitter.
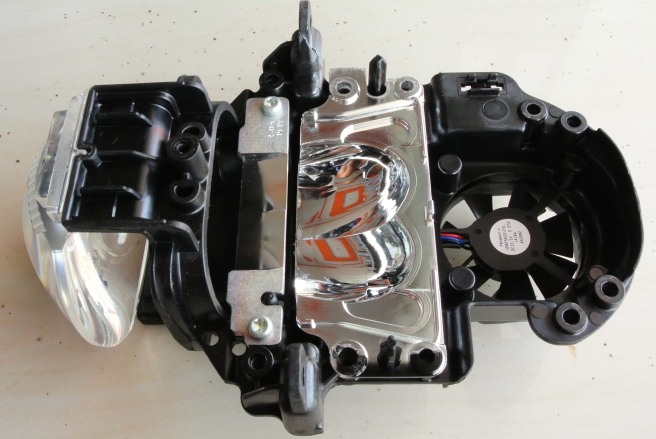
Removing further, we can see double bowl serve as Low Beam.
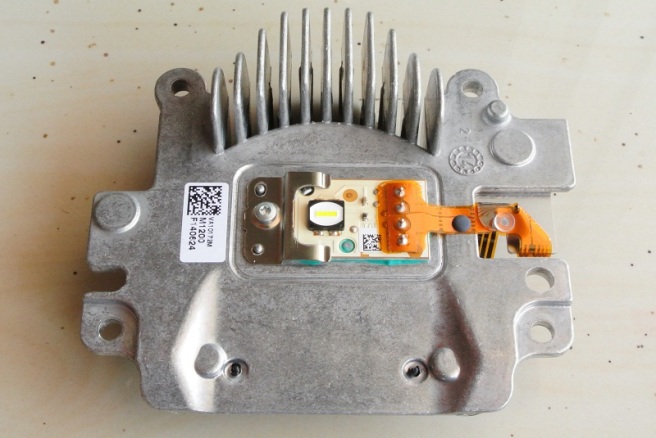
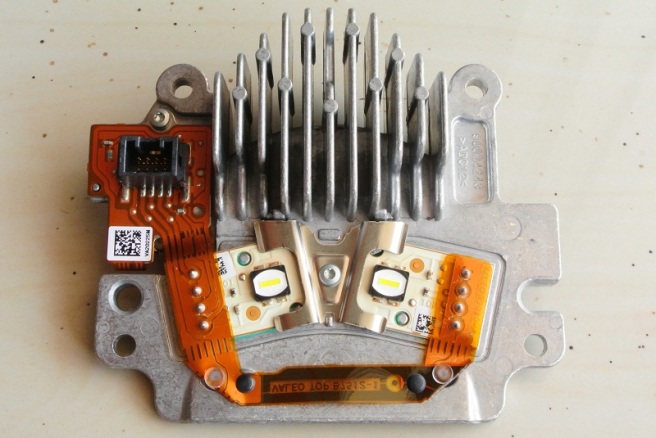
Here’s a closer look those emitter. it’s reminds me Oslon Black Flat construction, but after seeing its die i’m pretty sure its Nichia style as I usually seen at Japanese cars.
Probably its a custom package, because no other marking beside Valeo bla…bla…bla…
its 4 row emitter in series configuration and when we look at Nichia website, it’s “match” with this NC4W121AT in term of die dimension.
The other component near emitter just an Capacitor and Thermistor.
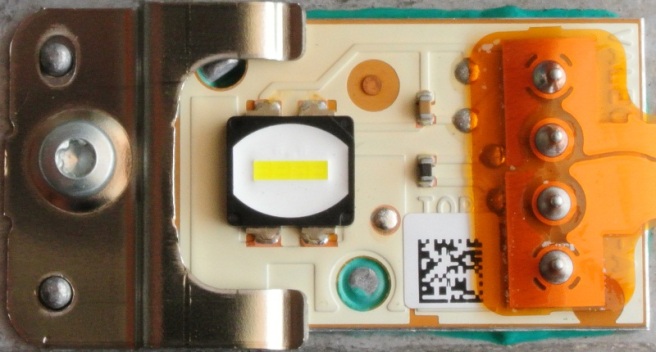
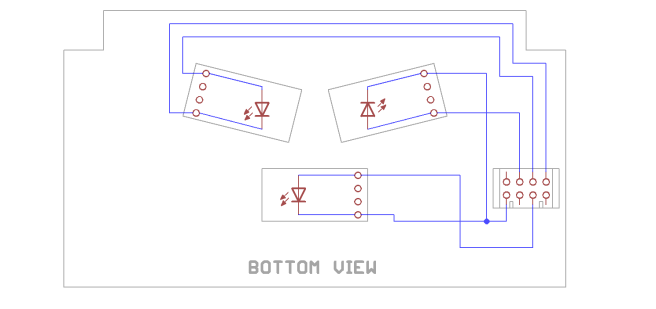
This is flex cable wiring, just beware when you tried to feed this emitter using an constant current led driver since it have a common cathode topology.
make sure your driver is having “Ground Reference” at Cathode output.
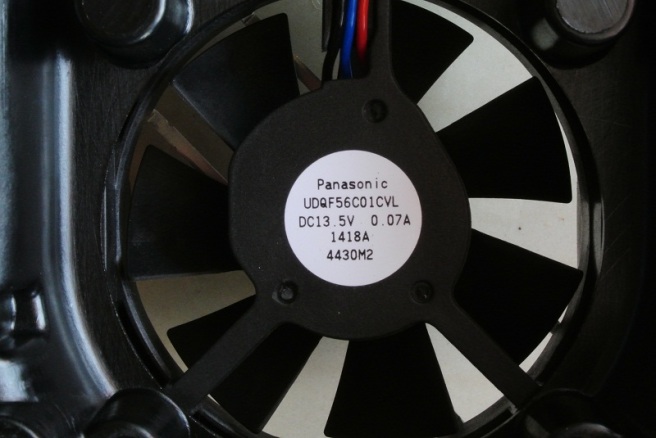
 Fan, Made by Panasonic. Its rated 13.5VDC @ 0.07A, it draw about 60mA @ 13.5VDC when I try to feed it with my bench supply. Using different COLOR for CABLE for each input/ouput, Thank you Japanese Engineer !!!
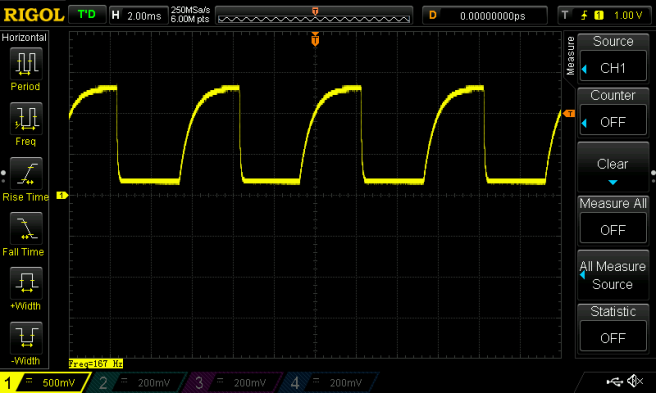
While the fan is running, I try to measure “tachometer” and got about 167Hz output ( I forgot to change 10x probe setting at my Scope).
Since this led projector came without driver, i did a simple test as usual. Set my Bench Supply to Constant Current 0.8A output .I think its safe point to start, since in datasheet its have 1A recomended drive current.
Run it with 27 deg Celcius Ambient Temperature, and got temperature about 44 deg celcius after 1 hour. With my poor calculation I think its safe to drive this emitter 1A for eternity 🙂
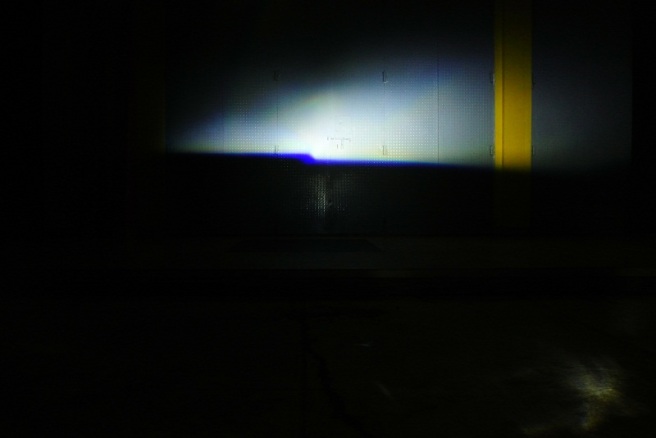
Move to its beam shoot. Sorry for flipped image.
Drive it with 1A which about 29 Watt for Low Beam and 15 Watt for High Beam.
Low Beam, Right side emitter.
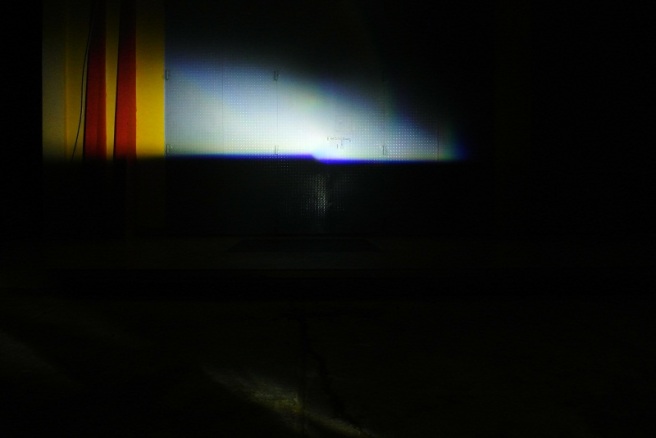
Low Beam, Left side emitter.
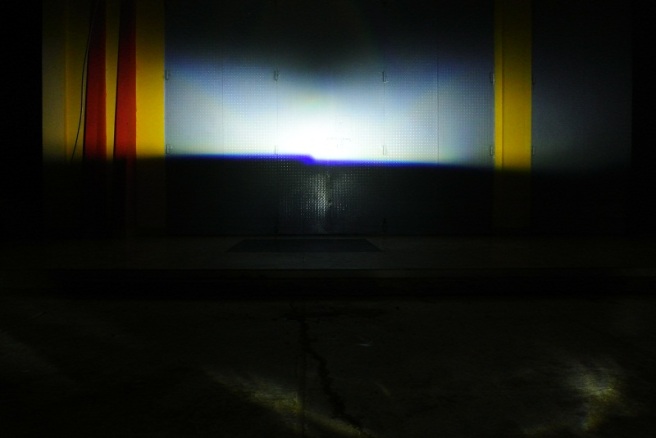
Low Beam, all together.
High Beam have a crazy blue color shift.
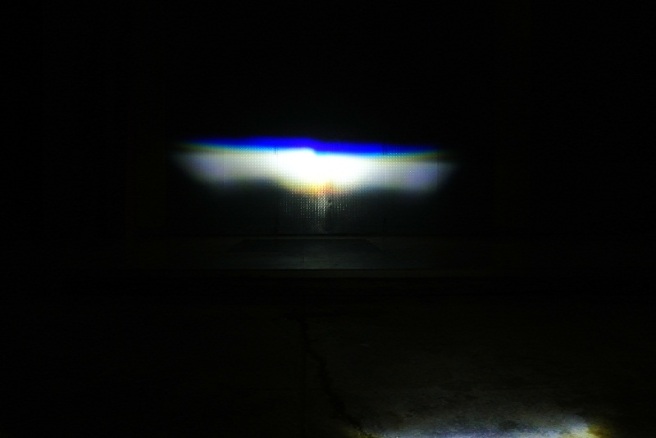
I’m still using a fix camera setting, so you can compared these output to BMW 2 series directly.
And judge by yourself which one is better.
Thank’s to Irvan Fatwa Negara for lend me this led projector.

Wow why am I only seeing this page now! Awesome info man!
LikeLike
Thank you 🙂
LikeLike
Hey.what driver do you use?
LikeLike
For testing i’m using power supply (with current setting)
After that i’m using my own made led driver
LikeLike
Hi!I love the way you blog!too bad I didn’t see it before,I wouldn’t have to take it apart to find the pins.could you draw a diagram of the driver?think many will help.I really need it now
LikeLike
Sorry, I do not have original driver.
I’m driving it with my power supplies
LikeLike
I need your driver.help me please.the project stopped.
LikeLike
if you can send mail doctosha@gmail.com
LikeLike
Sorry, i do not have it.
Maybe you can search for constant current led driver, all you need is boost type for lowbeam and sepic type for highbeam
LikeLike
unfortunately I don’t understand it.according to the diagram I can follow
LikeLike
My schematic quite clear already
For lowbeam, make two emitter connection in series (the one that share common cathode must be at the bottom string) and hook it to boost led driver
For highbeam just connect to sepic led driver
Output amperage for each driver already wrote in ballpark value (datasheet)
LikeLike
hi!could you share the scheme sepic led driver?could be a reference to it?
LikeLike
I, using QX5305. Most of boost driver can be modified to sepic. Just search on Google

LikeLike
whats to buy?
LikeLike
Hello!
I would like to ask you if you could help me power up the projector I have, it is also made by Valeo, and I think its just a next gen of the one you have here. Here are some photos, let me know what you think I should use for driver and how to wire it.
Thanks a lot!!
https://imgur.com/Ezj386v
https://imgur.com/BLoSpEt
https://imgur.com/UCCe56n
https://imgur.com/GVoYcF8
https://imgur.com/5iTkHhB
https://imgur.com/zwR55OV
https://imgur.com/HEz2dEu
Best regards!
LikeLike
Sorry for late reply
Unfortunately, with my browser I can’t open that link
LikeLike
Hello, maybe you can open this dropbox link and see the photos?
Thank you! I wish you keep doing this projects still in 2020! 😀
https://www.dropbox.com/sh/htckfqpxerqiyur/AAD1u5I8hWdKu7afEFbwZ0Jwa?dl=0
LikeLike
I think it is using “bare” emitter version
Do you have multimeter and/or basic electronic?
Because you have to trace all the connection from emitter to connector one by one
LikeLike
Yes, I have, and medium electrical knowledge 🙂
I added one more photo to dropbox, with connections I have already traced to connectors. 🙂
Thank you so much!
LikeLike
Well, it is done 🙂
To minimize cost for driver you just have to wire all 3 in series for low beam and leave others 2 as high beam in series
Do you have an CC/CV power supply? If not maybe you can purchase some cheapo boost led driver (XL6006 based) for testing
My guess each emitter need at least 9 or 12V
LikeLike
I have bought this a while ago, but I dont think now this is powerful enough.
The problem is I dont know which current to buy if CC, of not sure which chip it is, for CV driver….
https://www.ebay.com/itm/DC-5-25V-QX5305-Boost-LED-Constant-Current-Driver-Power-Supply-Module-Controller/183235927777?ssPageName=STRK%3AMEBIDX%3AIT&_trksid=p2057872.m2749.l2649
I would really like to be able to drive those projectors stable, so I can retrofit them in my car… 😀
Thank you very much for your help±!!
LikeLike
I’ve been playing with those IC couple years ago, they are not too good for “high” current application.
They are good to about 20W-ish
Maybe you should consider purchasing Hyperboost 4.0
All those 5 string can be driven once, with relay cut for high/low beam
LikeLike
CC Led Driver all the way
LikeLike
Hyperboost 4.0 is around 45$ shipped, and there are only 2 pcs left on stock.
Is there any other alternative that can also do the job, yet maybe a bit cheaper?
Thanks!
I will draw a schematics just to check with you if I understood you good 😀
LikeLike
Since you already order those QX5305 driver, you should give a try.
Set lowish amperage at first and measure voltage/temperature of the emiter
LikeLike
Hello Peter, Did you find a way to power up the projector Valeo? I have the same as yours but I don’t know what driver to use.
LikeLike
Can send it to India
LikeLike
Sorry mate
I dont own this item, borrowed from my friends
LikeLike